IMPORTANT! Before proceeding with the installation, please make sure that no other anti-viruses are installed on your PC because the resident modules contained within them may cause software conflicts.
Installation for Microsoft Windows
Important! The installation of Dr.Web Anti-virus for Windows must be performed by a user who has administrative privileges.
- To install Dr.Web Anti-virus for Windows, download the installation file from the Subscription Control Center or from your personal account area on your service provider’s website to the object you want to protect (PC or file server).
- Run the downloaded installer drweb_avdesk_installer.exe. The Dr.Web Anti-virus Installation Wizard window will appear.
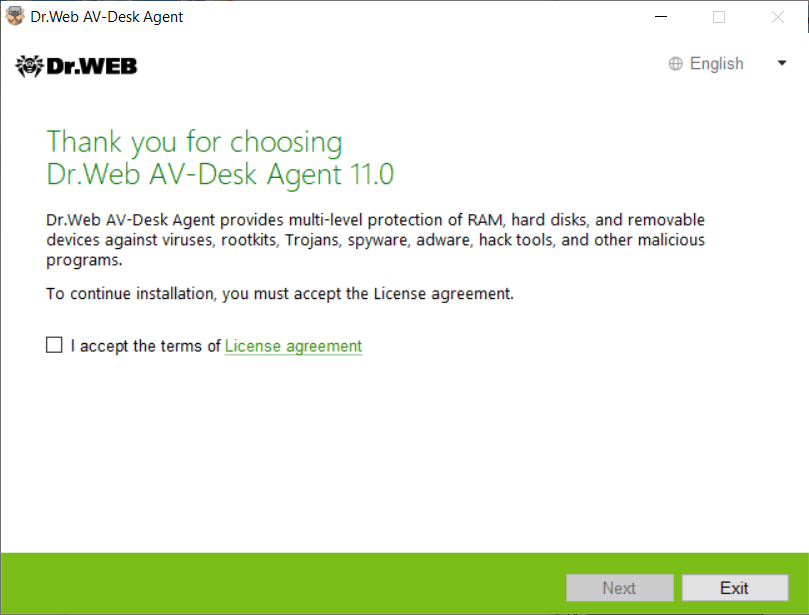
If an anti-virus program is already installed on this computer, the Installation Wizard will attempt to remove it. If it fails to do so, you will have to remove the anti-virus software in use (including other versions of Dr.Web) yourself. - To read the License agreement, click the appropriate link. Check the box next to I accept the terms of the License agreement and click Next.
- In the next window, you will see the full path to the public encryption key (drwcsd.pub) located on your computer. To continue the installation, click Next.
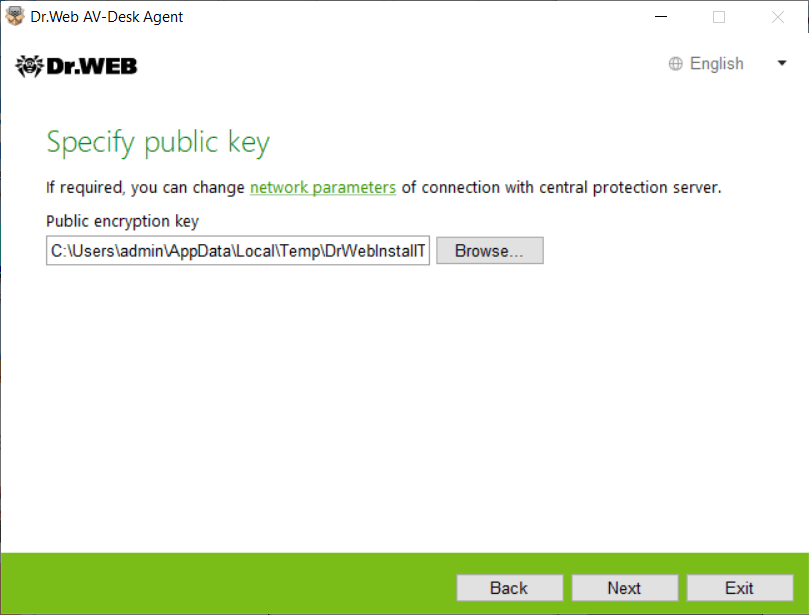
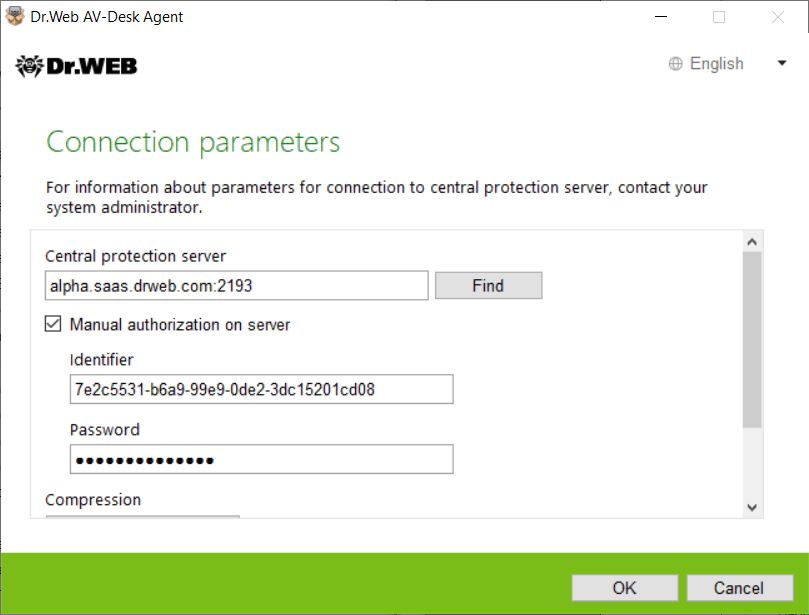
If necessary, you can change the server connection settings. Click on the appropriate link to open the Connection settings window.
It is recommended that you make no changes to these settings without first consulting your anti-virus network administrator.
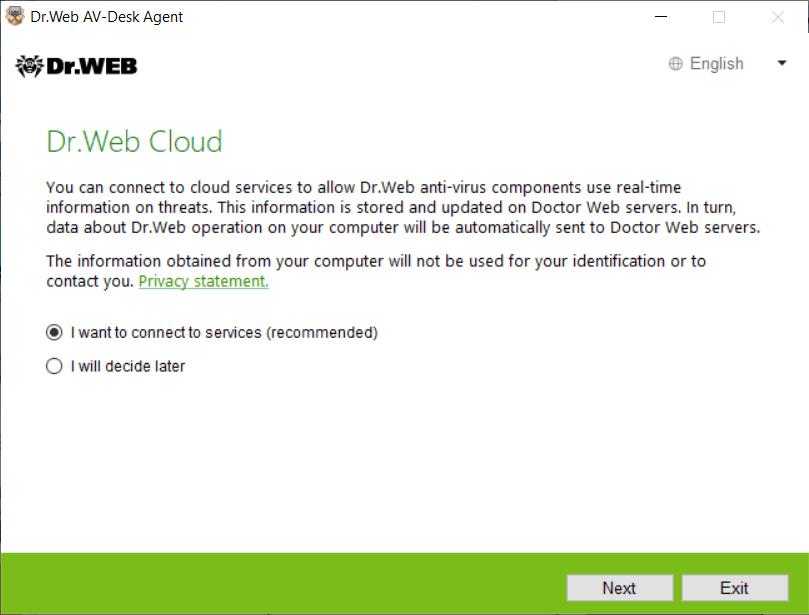
- You will be prompted to use the Dr.Web Cloud services so that the anti-virus can receive up-to-date threat information from Doctor Web's servers in real time. Select the necessary option and click Next.
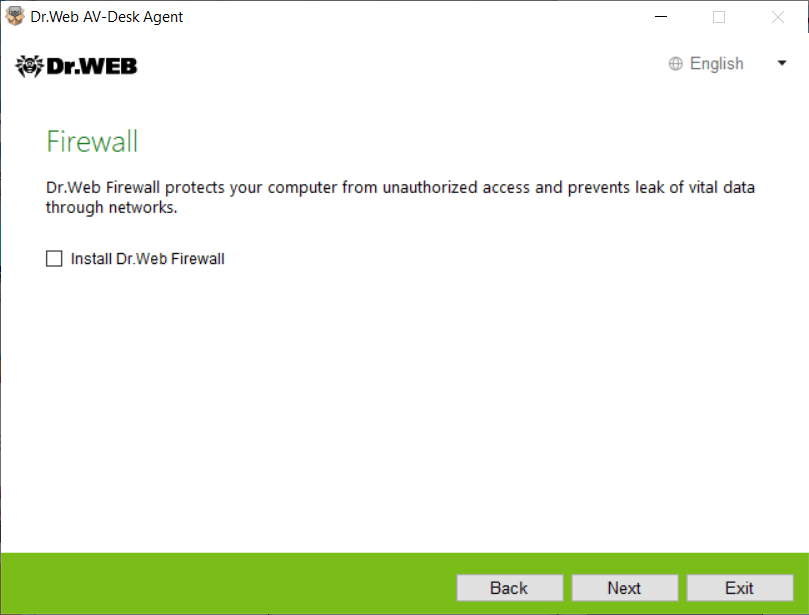
- You will be prompted to install Dr.Web Firewall to protect the computer from unauthorized access and to prevent sensitive data from being leaked over the network. If you want to install Dr.Web Firewall, check the corresponding box. Click Next to continue.
- A window will appear informing you that the Wizard is ready to install Dr.Web. To start the installation with the default settings, click Install.
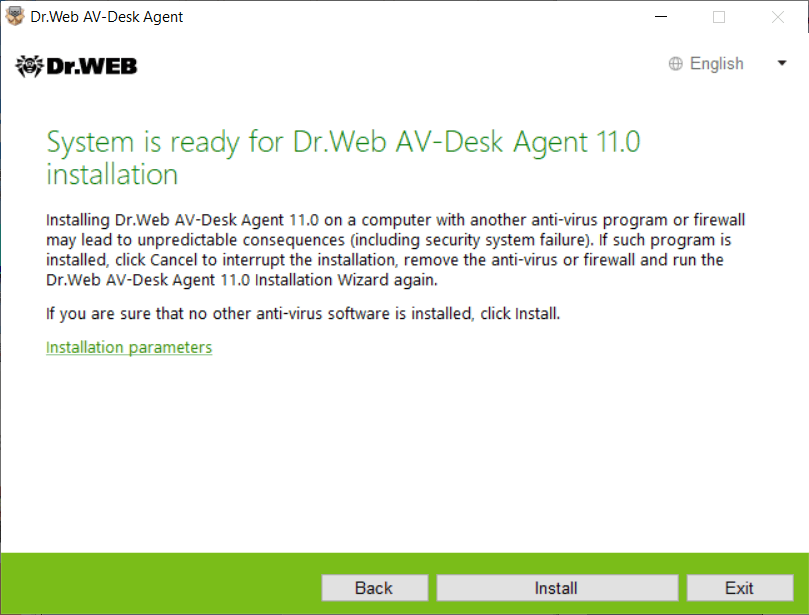
To choose individual components to install and to specify the installation path and advanced options, click Installation settings. This option is intended for advanced users; for more information, refer to the Dr.Web Anti-virus for Windows User Guide. - If, in the previous step, you clicked the Install button, go to step 11. Otherwise, after you click Installation settings, the Installation settings window will open.
In the Components tab, you will see the list of Dr.Web anti-virus components that are available for installation. Check the boxes next to the components you want to install on your computer. Depending on what subscription package you selected, some components may be unavailable.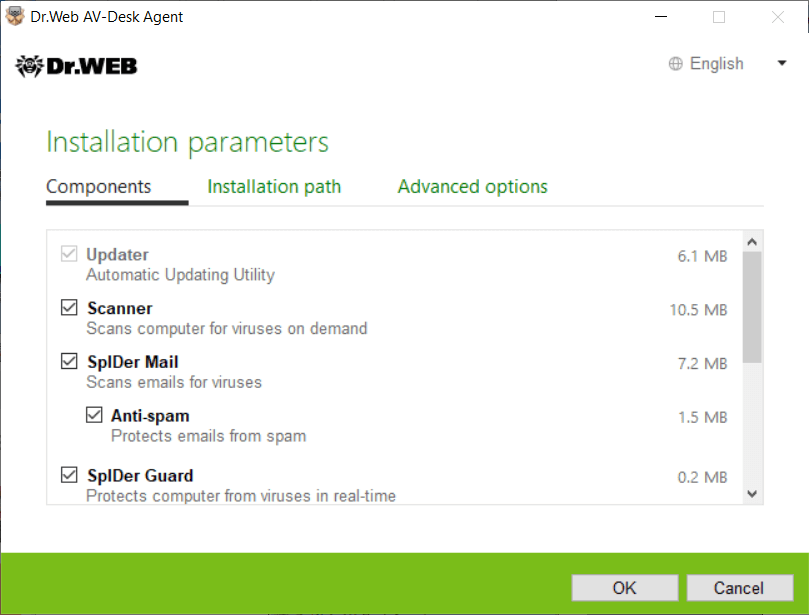
- In the Installation directory path tab, you can specify the directory into which you want to install the anti-virus software. The default installation directory is Dr.Web which is located in Program files on the system disk.
Click Next.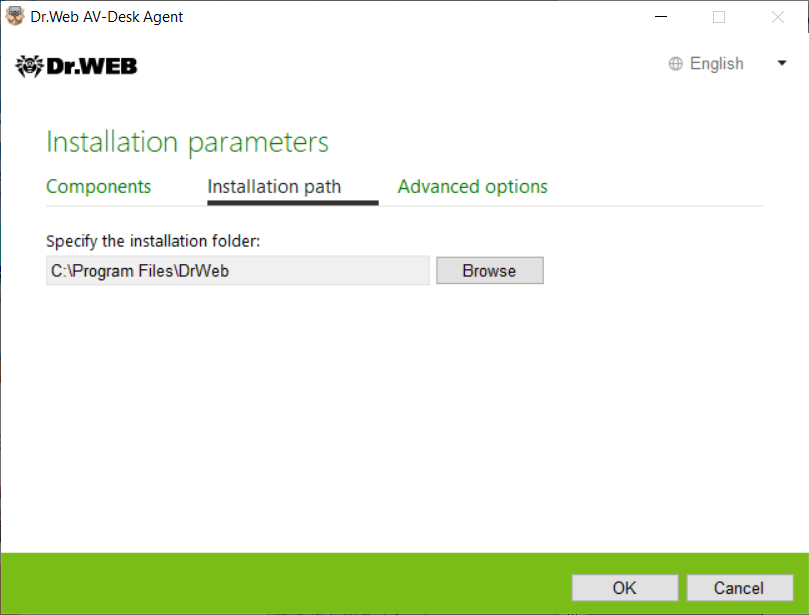
- In the Advanced options tab, you will be asked whether you want to create desktop and Start menu shortcuts for launching Dr.Web.
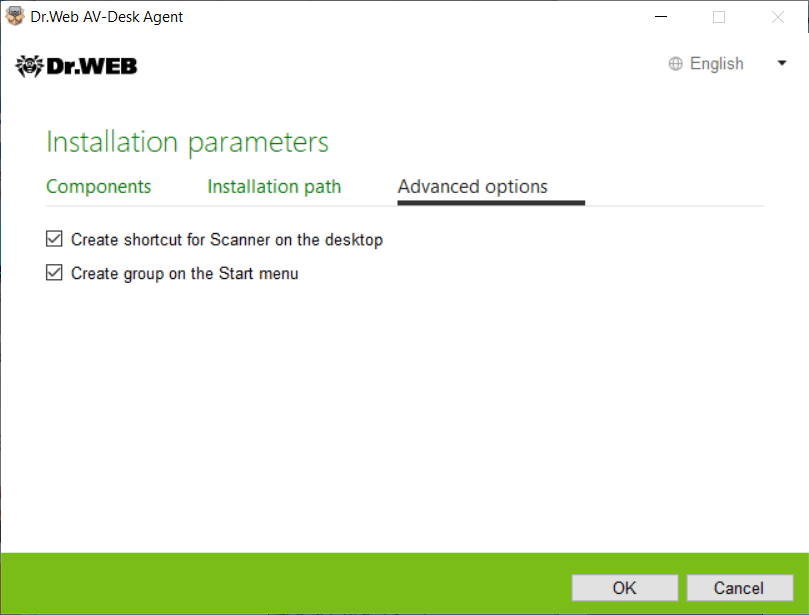
To save changes, click OK. You will be returned to the previous dialogue. Click Install. - The Dr.Web Anti-virus installation will begin.
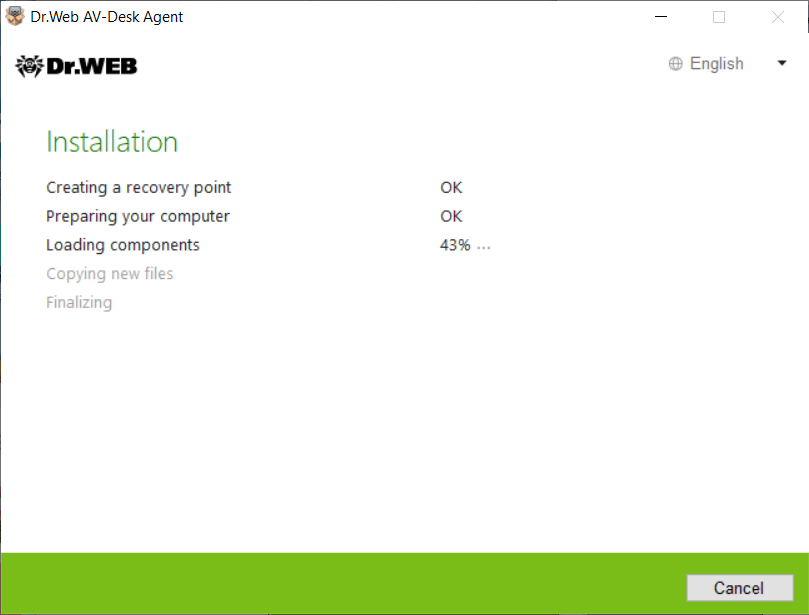
Once the installation is complete, the Wizard will prompt you to reboot your PC. Click Restart now and wait while the system is being restarted.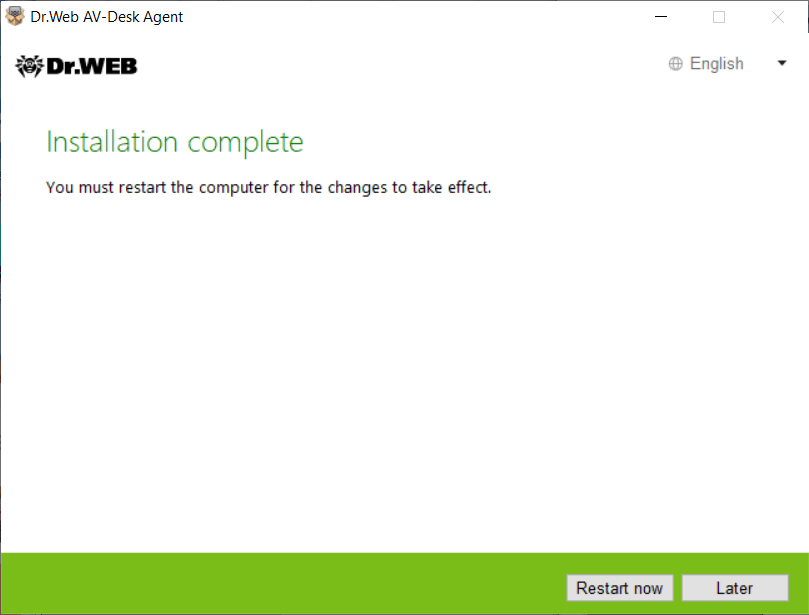
Congratulations! You have sucessfully installed Dr.Web Anti-virus for Windows!
For more information, please refer to the Dr.Web Anti-virus for Windows User Guide.
Installation for macOS
- Download the Dr.Web Anti-virus for macOS .run file, either from the Subscription Control Center or from your personal account area on your service supplier’s website, to the object you want to protect.
- Make the .run file executable. To do this:
- open the Terminal;
- go to the directory containing the .run file:
cd YourDirectory - Use the following command:
chmod 0755 FileName.run
- Run the .run file.
There are two ways to do this:
- Open the folder containing the installation file and double-click this file to launch it.
- Without closing the Terminal that was opened in the previous step, run the command:
where the name of the DrWeb installation file appears instead of FileName.run.sudo ./FileName.run
The sudo command will require you to enter a password (your current user/administrator) after the launch.
In this case, the entered characters will not in any way be displayed in the terminal, but the input will occur. When the input process is complete, click on Enter.
- Click on Install Dr.Web.
- Read the License Agreement and accept its terms. The installation will begin.
- Enter the administrator password and click on Install Helper.
- If the warning "The system extension was blocked" appears, allow the download of system extensions. To do this:
- go to the Apple menu;
- click on System settings;
- open the section Protection and security;
- if the settings are unavailable, disable the protection. To do this, click on the padlock icon at the bottom of the window and enter your username and password;
- click on the Allow button next to the message from Doctor Web about the system software being blocked.
- Dr.Web for macOS will be copied to the Applications folder and start.
- Grant Dr.Web full access to the disk. To do this:
- go to the Apple menu;
- click on System settings;
- if the settings are unavailable, disable the protection. To do this, click on the padlock icon at the bottom of the window and enter your username and password;
- go to the Privacy section;
- click on Disk access;
- add Dr.Web modules to the allowed list;
- click on Restart.
For more information, please refer to the documentation for Dr.Web® Anti-virus for macOS. User Guide.
Installation for Linux
- To install Dr.Web Anti-virus Agent for Linux, download the installation file in .run format from the Subscription Control Center or from your personal account area on your service provider’s website. The installer name contains information about the version and release date of the product, as well about the intended platform (x86 for 32-bit systems and amd64 for 64-bit systems).
- Allow the file to be executed. You can use the default file manager of your desktop environment or the following command to do this: # chmod +x <file_name>.run
- Run the file in the file manager or using the command # ./<file_name>.run
- This launches the installer. If you did not launch the installation with root privileges, the installer will try to elevate its permissions.
- Depending on the environment in which the distribution is launched, either the Installation Wizard for graphical mode or the Installer for command-line mode will start up.
When carrying out the installation in the graphical mode, do the following.
- If, at the beginning of the installation, setup detects issues that may in the future interfere with the operation of Dr.Web for Linux, a corresponding window containing an issues list will appear. You can abort the installation by clicking Exit, and resolve the issues identified prior to commencing with the installation. In this case, once the identified problems are resolved (additional required libraries are installed, SELinux is temporarily disabled, etc.), you will need to run setup again.
You can continue with the Dr.Web for Linux installation by clicking Continue. In this case, the installer will display the Wizard window. However, you will need to fix the problems identified earlier, either after the installation is complete or if Dr.Web for Linux is not working properly.
Once installation begins in the graphical mode, the Installation Wizard will appear.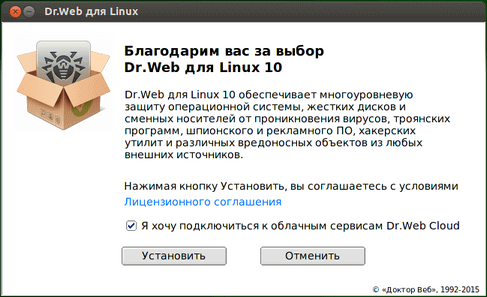
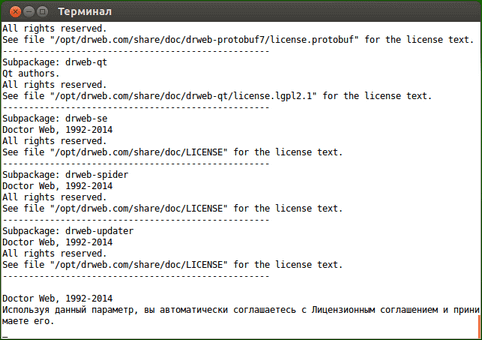
- Read the License agreement by clicking the appropriate link. The Installation Wizard will display the License agreement and copyright information about the components that will be installed on your computer.
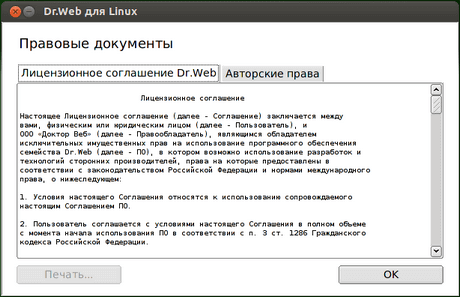
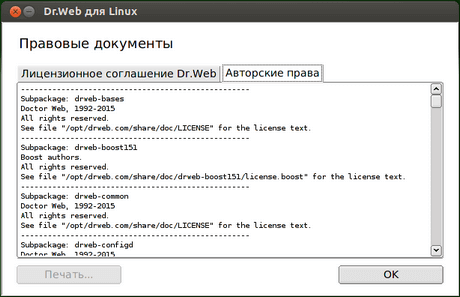
To close the page containing the License agreement and copyright information, click ОК. - You will also be asked to permit the anti-virus to automatically connect to the Dr.Web Cloud service. To do this, check the corresponding box (by default, this option is enabled). If you don't want to permit Dr.Web for Linux to use the Dr.Web Cloud service, clear the checkbox.
If necessary, at any time, you can enable or disable Dr.Web Cloud in the program settings. - To begin the installation, click Install. When you do this you are also confirming that you accept the terms of the License agreement. If you decide not to install Dr.Web for Linux on your computer, click Cancel.
- Once the installation starts, the Installation Wizard will open and you will see a progress bar showing the progress of the installation.
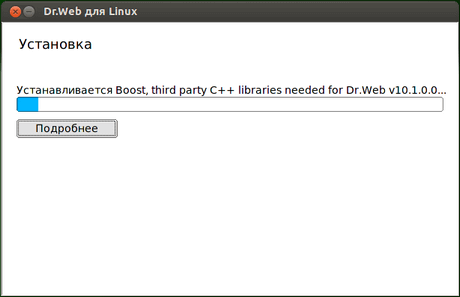
Click Show Details to view the installation log.
- Once the installation is complete, the final Wizard window will open.
- click OK to close it.
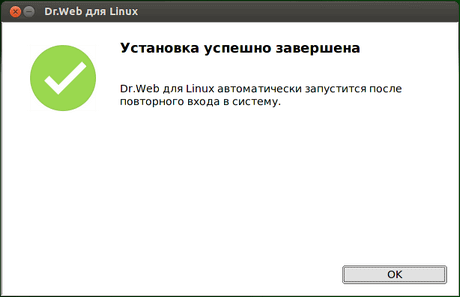
If the desktop environment supports this operation, a page will appear in the final step to prompt you to launch Dr.Web Anti-virus for Linux in the graphical mode. To launch Dr.Web for Linux, check the corresponding box and click OK.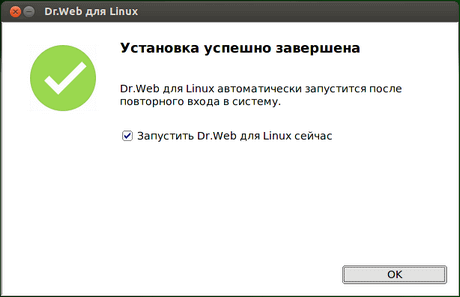
If the installation was aborted due to an error, the final Wizard dialogue will display a message to that effect. In this case, you should also close the Wizard by clicking OK. Fix the problems that caused the installation error, and then start the installation again.
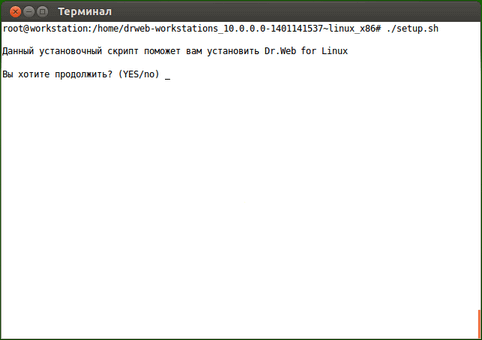
When carrying out the installation in the command-line mode, do the following.
- Once you start the installer in the text mode, the installation prompt will be displayed. Enter Yes or Y to start the installation.
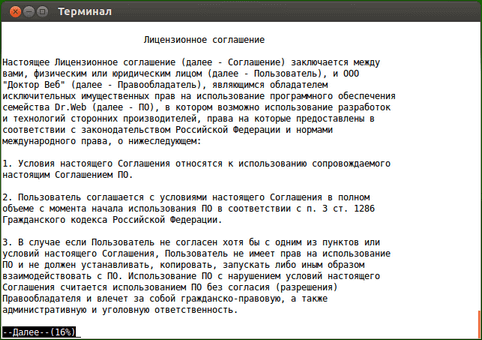
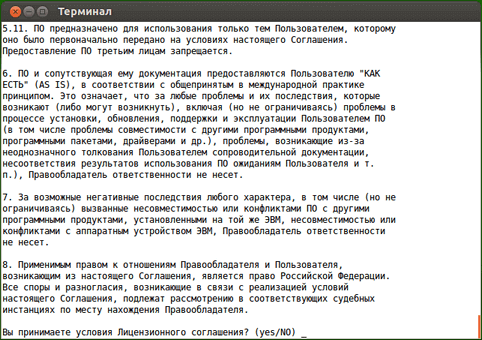
- Read the License agreement. To scroll down line by line, click ENTER. To scroll down one page at a time, click SPACE.
- Enter Yes or Y to accept the License agreement, or No or N to abort the Agent's installation.
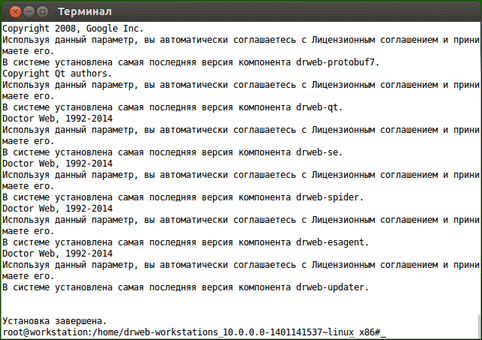
- Once you have accepted the terms, the installation will begin. Information about the installation's progress, including the list of components being installed, will be displayed on the screen.
- Once the installation is complete, the installer will display the installation status and quit. If an error occurs, an error message will be displayed and the installation process will be aborted. Fix the problems that caused the installation error, and then start the installation again.
Congratulations! You have successfully installed Dr.Web Anti-virus for Linux!
For more information, refer to the Dr.Web Anti-virus for Linux User Guide.
Installation for Android
- From the Subscription Control Center or from your personal account area on your service provider’s website, download the Dr.Web for Android installation file to your device's memory card. The download link may be in the form of a QR code. If the scanning application is not installed on your mobile device, install it.
Important! To install an application without using Google Play, you need to change the settings to allow this. Go to Settings → Applications, and select Unknown sources.
Important! The installation file should be downloaded to the root directory of the memory card (built-in storage) or to the next level directory (e.g., Downloads). Note also that the name of the file should not be changed because it contains information that is necessary for the installation.
- Use a file manager to locate and launch the installation file. Once you accept the terms of the License agreement, the application will be installed automatically.
Congratulations! You have successfully installed Dr.Web for Android!
For more information, refer to the Dr.Web for Android User Guide.